Okay, let’s get real — you don’t need to be a pro artist to draw a cool monkey. Just follow this, your way. No pressure, no boring stuff.
Materials Needed:
- Pencil
- Eraser
- Paper
- Markers or Colored Pencils (optional)
Now let’s do this:
- Head first. One simple circle. That’s monkey HQ.
- Add that cute face. Draw a soft heart under it — not all the way, just the top part.
- Make it alive. Two dots for eyes. Little triangle for the nose. Now a big goofy smile.
- Ears! Round ones, left and right, a little above the eyes.
- Hair time. Have fun — make it messy, wild, pointy! Then throw in the arms. Long or short, monkey doesn’t care.
- Legs next. Curve ’em down, give those feet a half-circle shape. Link them up underneath.
- Tail twist. Swirl a long tail out back. The crazier the better.
- Darken the head. Fill that in black — bold contrast, instant cool.
- Trace clean. Marker time. Go over the lines that matter.
- Clean up. Erase all the extra scribbles and smile at your work.
Reminder: Your monkey = your rules. Make it stylish, weird, sweet, or funky.
Step 1: Draw the Head

Start off with a light hand and sketch an oval. Doesn’t have to be perfect — in fact, a little unevenness makes it more fun.
Step 2: Draw the Face

To create the monkey’s face, draw a heart shape, excluding the pointed bottom. This heart-shaped outline will form the basic structure of the monkey’s face. Make sure the heart shape is positioned within the oval head you drew in the previous step.
Step 3: Bring Your Monkey to Life

Pop in two big dots for eyes. Then, under those, a tiny upside-down triangle for the nose. Below that, a big smiley curve. Add a couple short curves above the eyes — boom, eyebrows!
Step 4: Draw the Monkey Ears

On both sides of the head, draw big, round ears. Make them a bit curved on top. Add an outline inside to show the inner part. Now they look proper monkey-ish.
Step 5: Add Hair On The Head

To give your monkey some arms, draw two long, slightly curved lines extending downward from each side of the head. These lines form the basic shape of the arms, which are simple and smooth. At the end of each arm, add small curved lines to suggest hands, with just a couple of short lines to indicate fingers. The arms are positioned close to the body, giving the monkey a relaxed and friendly appearance. This simple design keeps the drawing playful and easy to follow.
Step 6: Add Monkey Arms
To give your monkey some arms, draw two long, slightly curved lines extending downward from each side of the head. These lines form the basic shape of the arms, which are simple and smooth. At the end of each arm, add small curved lines to suggest hands, with just a couple of short lines to indicate fingers. The arms are positioned close to the body, giving the monkey a relaxed and friendly appearance. This simple design keeps the drawing playful and easy to follow.
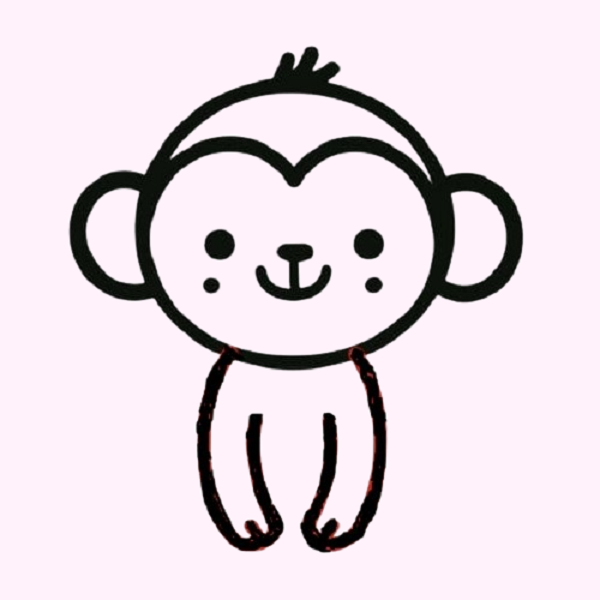
Step 7: Give Your Monkey Some Legs

Draw two lines downward, curving just a bit—they’re the legs. Drop in half circles at the end for feet. Connect everything at the bottom with a smooth line to make it look like the monkey is sitting. Adjust the length or angle till it feels right.
Step 8: Add a Swishy Tail
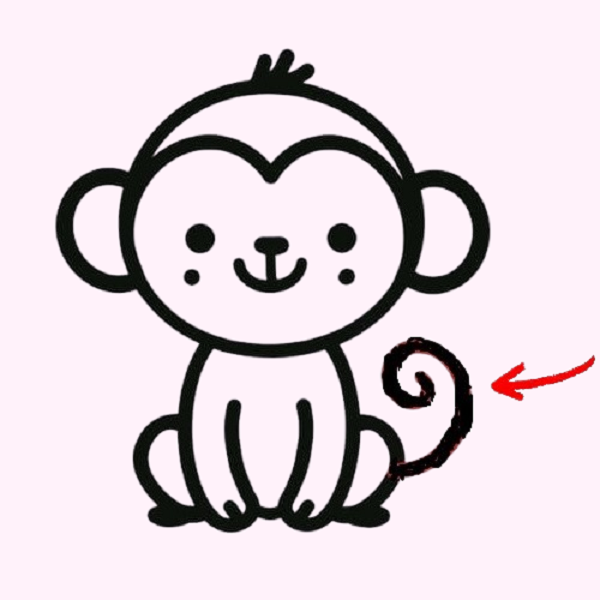
Now for the tail. From the back, draw a swooping line going up, looping around however you like. Make it curl or wave—whatever feels fun and natural. The tail adds a lot of personality, so don’t stress the shape too much.
Step 9: Fill the Monkey Head
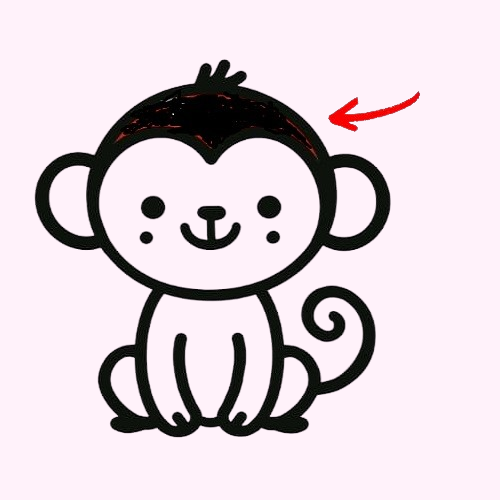
Here’s the twist—color the whole head black. Solid black. It’s going to create a great contrast and pull attention right to the face. Makes everything else pop too. Simple but powerful.
Step 10: Finishing Of Monkey
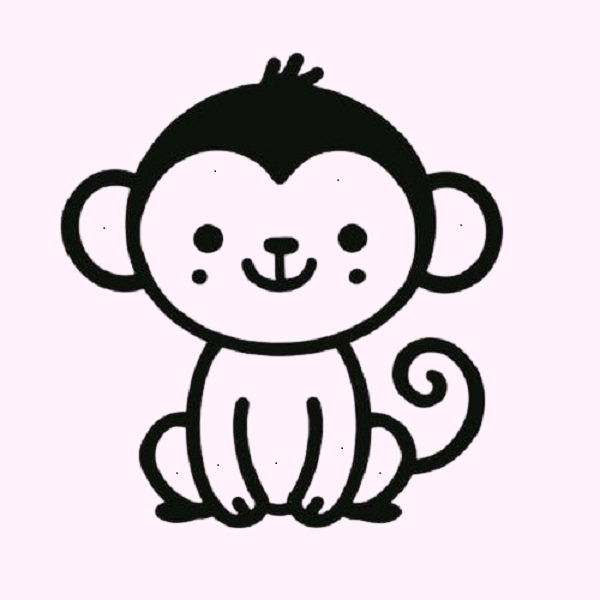
Use a black pen to go over your outlines. Then erase all leftover pencil marks. That sharp black-on-white look really makes the monkey stand out. It’s a great finishing touch.
Nice! You did it—you drew a monkey and it actually looks fun and full of life. You got the head, the face, the arms and legs all done. Now go ahead and mess around with colors, try out some new looks, and give it your own twist.
You’ve got the hang of it, so why stop here? Try adding a jungle around it or even try drawing other animals. Keep going—you’re picking this up fast.